melloSign in

Searing Mechanics: Heat Transfer and Maillard Reaction

A common myth in home cooking is that searing meat or plant proteins "locks in juices." In reality, searing does not create an impermeable barrier to water. What it actually does is transform simple amino acids and sugars into hundreds of rich, complex flavour compounds through a chemical process called the Maillard reaction.

3 parts6 min read
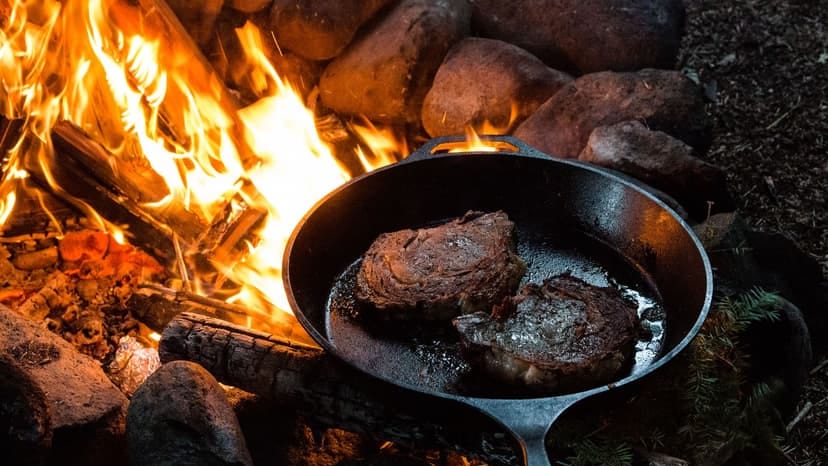
Sizzling steaks cooking in a cast iron pan over a campfire surrounded by logs and rocks.
Photograph: Loren Castillo / Pexels

Mastering a perfect sear requires understanding the physical principles of heat transfer, surface moisture, and pan thermodynamics. When executed correctly, high-heat searing creates deep savoury depth while preserving interior tenderness and minimising harmful chemical byproducts.
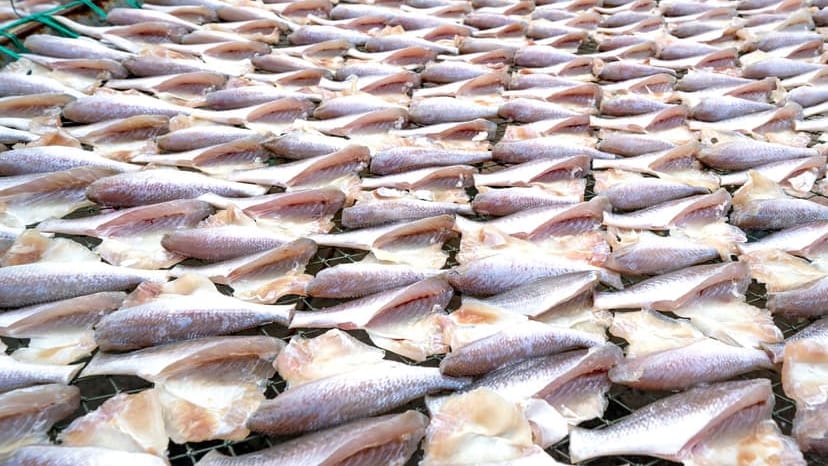
Numerous dried fish spread on racks outdoors, showcasing traditional preservation methods.
Photograph: Quang Nguyen Vinh / Pexels

Moisture Control: Eradicating Surface Water

The single greatest obstacle to a proper sear is water. Liquid water cannot exceed 100°C (212°F) under standard kitchen conditions. However, the Maillard reaction requires temperatures between 140°C and 165°C (280°F–330°F) to begin breaking down and recombining proteins and sugars.

If your food goes into the pan with surface wetness, every unit of heat energy from the stove goes toward evaporating that surface water first. Instead of searing, your food steams, turning an unappetising grey.

A dry surface sears instantly upon contacting hot oil, creating a sealed outer crust that prevents oil from soaking deep into the food.

Reduced oil absorption

Technique: Surface Drying and Salting

You shouldn't rely on heat alone to burn off surface water. You must dry the ingredient completely before it touches the pan.

  1. 1Pat thoroughly dry: Use paper towels or a clean cloth to press every side of your protein, whether tofu, fish, mushrooms, or lean poultry, until no visible moisture remains.
  2. 2Salt in advance (Dry Brining): Salt your food at least 45 minutes before cooking (or up to 24 hours in advance in the refrigerator). Salt initially draws water out through osmosis, but over time, that salted moisture dissolves protein fibres and is reabsorbed deeper into the food, leaving the surface dry.
  3. 3Uncovered fridge drying: Place your salted protein on a wire rack inside the refrigerator for several hours. The cool, circulating air in modern frost-free refrigerators acts as an efficient dehumidifier, drying out the outer cellular layer for a crisp crust.

Health Benefits

  • Reduced oil absorption: A dry surface sears instantly upon contacting hot oil, creating a sealed outer crust that prevents oil from soaking deep into the food.
  • Eliminates reliance on heavy coatings: Achieving a crisp, savoury exterior through moisture control eliminates any need for breadcrumbs, flour dredges, or heavy batters, keeping meals naturally lighter and gluten-free.
  • Preserves interior moisture and nutrients: Bypassing a long steaming phase means food cooks faster overall, preserving heat-sensitive vitamins in the centre while keeping the interior juicy.
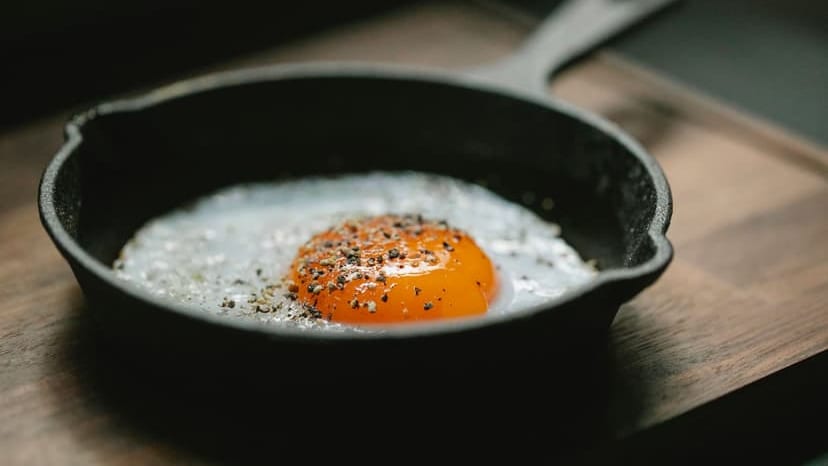
High angle of pan with fried egg with seasoning placed on wooden board in kitchen
Photograph: Klaus Nielsen / Pexels

Pan Thermal Mass: Heat Conduction and Leidenfrost Effect

When you place cold food into a hot pan, heat transfers from the pan surface directly into the food. If your pan is lightweight or made of thin material, its surface temperature drops instantly, causing the food to stick and steam.

Achieving a clean sear requires a pan with high thermal mass, meaning it can store a large amount of heat energy and maintain its temperature when cold ingredients enter.

Adding oil to an already hot pan right before cooking reduces the amount of time fat spends breaking down under high heat, minimising the formation of toxic free radicals and oxidised lipids.

Prevents oil oxidation

Technique: Pan Preheat and Temperature Verification

You shouldn't add oil to a cold pan and wait for it to smoke. Preheat the dry pan first to prepare the metal surface.

  1. 1Preheat heavy cookware: Use a heavy stainless steel, cast iron, or carbon steel pan. Set it over medium-high heat for 2 to 3 minutes before adding any fat.
  2. 2Test using the Leidenfrost Effect: For stainless steel pans, drop a few drops of water into the dry preheated pan. If the drops sizzle and evaporate immediately, the pan is too cold. When the water beads up into a smooth marble that glides across the metal surface without evaporating, the pan has reached optimal searing temperature (roughly 190°C / 375°F).
  3. 3Add oil just before food: Add a high-smoke-point oil (like avocado oil or light olive oil) once the pan is hot. Swirl to coat, then immediately lay in your dry food away from you to prevent splashing.
  4. 4Avoid overcrowding: Leave space between each piece of food. Overcrowding traps evaporating steam, cooling the pan down and ruining the sear.

Health Benefits

  • Prevents oil oxidation: Adding oil to an already hot pan right before cooking reduces the amount of time fat spends breaking down under high heat, minimising the formation of toxic free radicals and oxidised lipids.
  • Prevents food sticking naturally: When metal reaches proper temperature, microscopic pores on the surface expand and smooth out. This prevents protein from bonding to the metal, eliminating the need for excessive amounts of grease or synthetic non-stick coatings.
  • Faster cooking times: Efficient heat conduction cooks food rapidly, reducing overall thermal stress on delicate nutrients.
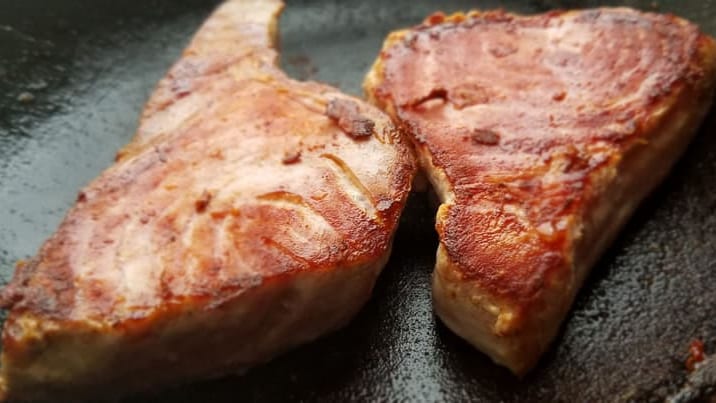
Close-up of perfectly grilled tuna steaks, showcasing the rich, savory texture.
Photograph: Dexter Belmont / Pexels

Temperature Thresholds: Maillard Reaction vs. Pyrolysis

The Maillard reaction occurs in a specific temperature window between 140°C and 165°C (280°F–330°F). If your pan remains below this window, your food remains pale and unseasoned. If your pan temperature exceeds 200°C (400°F), you move past flavour creation into pyrolysis, the chemical destruction of organic matter into bitter, burnt carbon.

Distinguishing between deep golden browning (Maillard) and black char (pyrolysis) is critical for both flavour and long-term health.

Excessive charring and burning creates harmful compounds known as Heterocyclic Amines (HCAs) and Polycyclic Aromatic Hydrocarbons (PAHs), which are linked to cellular damage. Controlled searing produces maximum flavour while preventing these compounds from forming.

Prevents dietary carcinogens

Technique: Visual and Thermal Control

You shouldn't leave the stove once your protein hits the pan. Managing the sear requires active observation.

  1. 1Watch the visual cues: Look for a rich, golden-mahogany colour across the surface. If the edges begin turning dark brown or black, immediately reduce the heat or move the food to a cooler zone in the pan.
  2. 2Flip deliberately: Let the food sit undisturbed for the first 2 to 3 minutes until a natural crust forms and the food releases effortlessly from the pan. Once flipped, turn the heat down slightly to allow the interior to warm through without burning the bottom crust.
  3. 3Deglaze the fond: The brown, caramelised bits left stuck to the bottom of the pan (called the fond) are pure Maillard flavour. Pour in a splash of water, stock, or wine while the pan is still hot, scraping up the bits to make a light, rich pan sauce.

Health Benefits

  • Prevents dietary carcinogens: Excessive charring and burning creates harmful compounds known as Heterocyclic Amines (HCAs) and Polycyclic Aromatic Hydrocarbons (PAHs), which are linked to cellular damage. Controlled searing produces maximum flavour while preventing these compounds from forming.
  • Minimises AGE accumulation: Advanced Glycation End-products (AGEs) form when proteins and sugars bind under extreme dry heat over long periods. Keeping searing precise and brief reduces overall AGE accumulation in your body, supporting cardiovascular and arterial health.
  • Eliminates burnt bitterness: Preventing pyrolysis keeps food naturally sweet and rich, reducing any desire to mask burnt flavours with heavy, sugar-laden sauces or artificial glazes.

Stove-Side Troubleshooting Guide

If your searing process goes off course, use this diagnostic framework to adjust immediately:

The food turned grey and liquid is pooling in the pan.

DiagnosisExcess surface moisture or an overcrowded, under-heated pan.

FixRemove the food immediately. Drain the liquid, wipe the pan dry, reheat until hot, pat the food dry again, and sear in smaller batches.

The oil is smoking heavily and smells acrid before food enters.

DiagnosisOil reached its smoke point and is breaking down.

FixCarefully wipe out the burnt oil with paper towels, let the pan cool for 60 seconds, add fresh oil, and proceed immediately with cooking.

Outside is turning dark black before the centre is warm.

DiagnosisPan temperature is too high (pyrolysis).

FixLower the heat instantly, add a splash of liquid to cool the pan surface, or transfer the food to a warm oven to finish heating the interior gently.

Food is stuck firmly to the bottom of the pan.

DiagnosisProtein has not finished forming a crust, or the pan was too cold when food was added.

FixDo not force or rip the food. Wait 60 to 90 seconds; as the Maillard crust fully forms, the food will naturally release itself from the metal.

Summary: Perfect Sear Blueprint

Keep these four steps in mind every time you sear:

Read next

General information about food and cooking, not medical or dietary advice. Talk to a doctor or a registered dietitian about your own health, particularly if you are managing a condition or taking medication.